
Craft time doesn’t need to eat up your whole afternoon. With Fast Crafts LWMFCrafts, you can make neat, fun things in under 30 minutes using things around the house. These quick projects give kids a creative break, and they get to see something real at the end of it—not just a half-done mess. I’ll walk you through seven of my favorite Fast Crafts LWMFCrafts, share tips for doing them quickly, and suggest ways to customize them. I’ll also explain how these crafts help with learning, planning, and parent-kid time. If you’re looking for indoor activities LWMFcrafts style, or you’re curious about inventive lwmfcrafts that don’t take hours, this article is for you.
In the US especially, many parents look for fast, low-cost crafts for rainy days or downtime. You’ll see examples, supply lists, time estimates, and even a few extras if you finish early. And yes, I’ll mention the look what mom found fathead wall graphic giveaway and how that ties into crafty inspiration. Let’s get started.
Why Fast Crafts LWMFCrafts Matter
When life is busy, you need projects that don’t demand hours of setup or cleanup. Fast Crafts LWMFCrafts answer that. These crafts help children complete something tangible without losing momentum. They build confidence: finishing a project gives a sense of accomplishment. They also sharpen fine motor skills, spatial awareness, and planning skills—all in small doses.
Because fast crafts lwmfcrafts often use recycled or common materials, you don’t need to buy fancy supplies. A paper roll, a tin can, pipe cleaners, or leftover yarn can become something special. That reuse helps teach kids about resourcefulness and sustainability.
Compare long, elaborate crafts. They often stall midway; glue dries, parts go missing, enthusiasm fades. Fast Crafts LWMFCrafts capitalize on momentum. Most of these projects span 10 to 25 minutes. If you allow 5 minutes for prep and cleanup, you’re still under 30. That makes them ideal for after dinner, while waiting, or when kids say “I’m bored.”
Another plus: these crafts are easy to adapt. If you hit a snag or a child wants to change a detail, it’s simple to pivot. That flexibility matters more than “perfect result.” And that approach encourages creativity over perfection.
Tips to Prep Before You Start

Gather a quick craft kit
Keep a small box or drawer with go-to items: scissors, glue stick, markers, colored paper, tape, yarn scraps, pipe cleaners, clothespins, empty cardboard tubes, tin cans (clean), small rocks, washi tape, etc. Having these at hand cuts delay.
Choose materials children enjoy
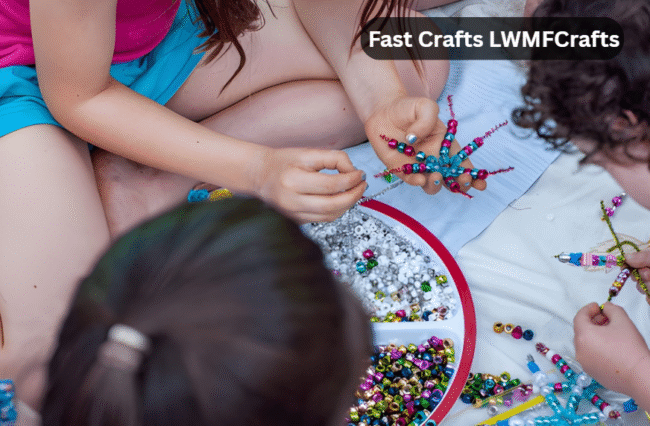
If a child loves texture, include yarn or felt. If they like sparkle, add some sequins or glitter (in moderation). Let their preferences guide a little bit so they feel invested.
Set a 30-minute timer
Always time yourself. That sense of a deadline helps focus the work. It also gives you structure: 5 min prep, 15–20 min making, 3–5 min clean up.
Have backup ideas
Keep one or two super simple fallback crafts (like coloring pages or sticker collages) in case supplies don’t work out. That flexibility keeps things smooth.
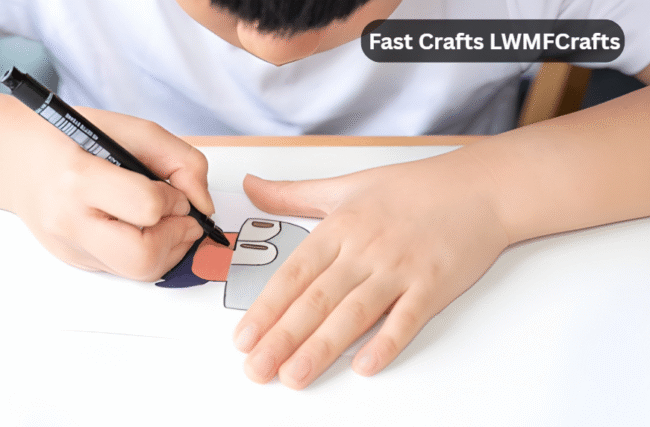
Craft #1 Paper Roll Animal Puppets
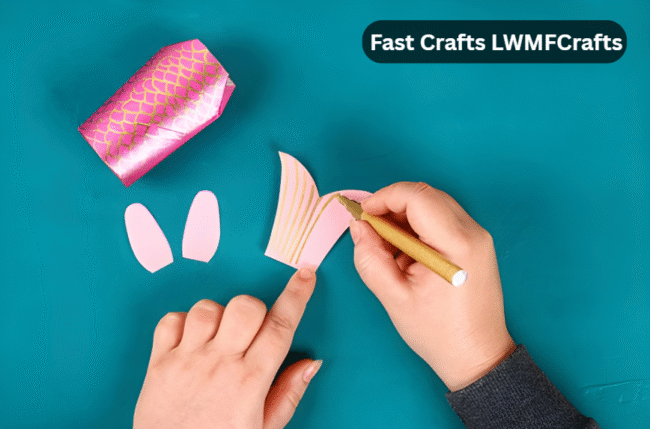
Materials
Empty toilet paper or paper towel rolls, colored paper or construction paper, glue stick or white glue, markers, scissors, optional googly eyes or stickers.
Steps (about 10–15 minutes)
- Choose your animal (e.g. cat, dog, bunny).
- Wrap the roll with colored paper or paint it if you prefer.
- Cut ears, legs, tail from paper and glue them.
- Add eyes, nose, whiskers, or other details with markers or stickers.
- Let glue dry a minute, then use it as a puppet.
Variations
You can make a whole puppet zoo. Or let kids invent fantasy animals (wings, spots, horns). Use leftover fabric scraps for ears or tails for extra texture.
Unique insight
One tip I like: let kids sketch their design first on a scrap. That gives them a mini blueprint. It slows them slightly but cuts mistakes mid-gluing. Over time, they’ll learn to imagine that in their head.
Craft #2 Clothespin Photo Holder
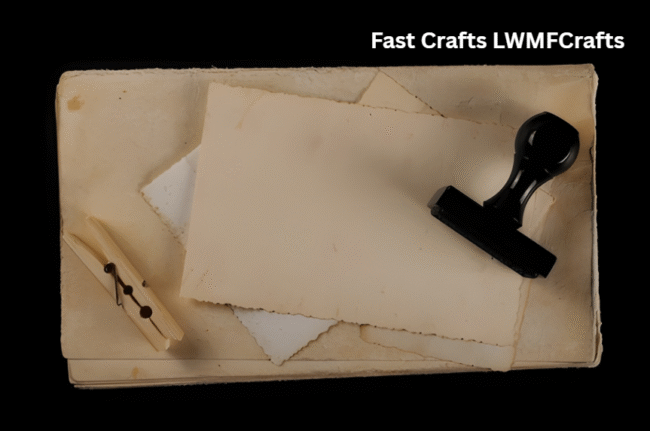
Materials
Wooden clothespins, strong glue (hot glue or craft glue), small card or chipboard, paint (optional), ribbon or string, photos or decorative paper.
Instructions (about 15 minutes)
- Glue several clothespins side by side on the chipboard (or a strip of cardboard).
- If desired, paint the clothespins or decorate them with washi tape or markers.
- Attach a ribbon or string at the back to hang it.
- Clip small photos, notes, or drawings in each clothespin.
Decorative tweaks
You can add small embellishments, little paper flowers, or names. Use seasonal themes (like Halloween, Valentine’s) and swap photos accordingly.
This makes a functional display and gives kids pride seeing their own creations displayed. It’s a good indoor activity LWMFcrafts style because it’s useful and decorative.
Craft #3 Painted Rock Monsters
Materials
Smooth flat rocks, acrylic paint or paint pens, clear sealant (spray or Mod Podge), optional googly eyes or stickers.
Steps (10–20 minutes depending on number)
- Wash and dry the rocks.
- Paint a base color and let it dry a few minutes.
- Add details like mouth, eyes, spots, stripes.
- Glue googly eyes or stickers if you have them.
- Seal with clear coat so paint lasts.
Display ideas
Put them on windowsill, garden, or desks. Let kids “adopt” their monsters. You could even hide some around the house to surprise someone.
A bit of extra thinking
If you pick rocks of different shapes, kids can choose monsters based on shape (one rock looks like a head, another looks like a body). That decision step helps with spatial thinking.
Craft #4 Pipe Cleaner Flower Bouquet
Materials
Pipe cleaners (varied colors), construction paper or colored paper, tape or glue, optional beads or buttons.
How to do it (10-15 min)
- Fold one pipe cleaner in the middle, twist loops outward to make petals.
- Use another pipe cleaner as the stem.
- Cut paper leaves and attach.
- If you want, thread a bead on the center or glue a button.
- Make multiple flowers and bunch them.
Gift or décor
These can be a small gift or used in a vase (real or jar). If you make many, it becomes a cheerful bouquet.
Creative twist
Let kids mix pipe cleaner with paper: wrap paper around a pipe cleaner, twist, then open petals. This hybrid gives texture variation.
Craft #5 Washi Tape Bookmarks
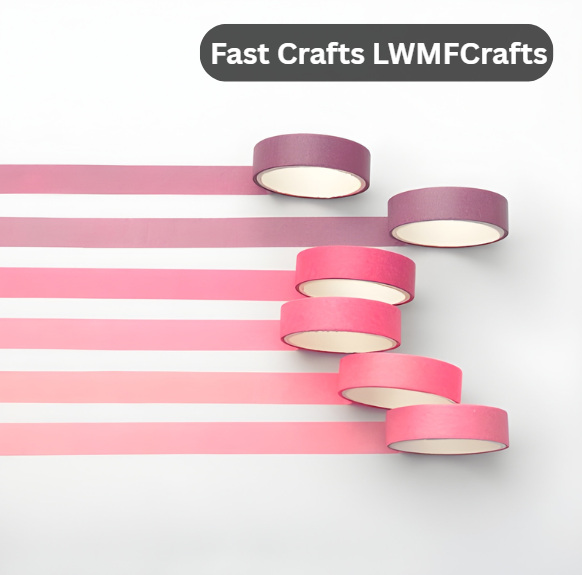
Materials
Cardstock or thick paper, washi tape (or decorative tape), scissors, optional laminating sheets or clear contact paper.
Instructions (5–10 minutes)
- Cut cardstock into bookmark size (e.g. 2” x 6”).
- Cover with strips or shapes of washi tape.
- Press down edges, trim overhang.
- Optional: laminate or stick clear contact paper over it.
Sealing idea
If you can’t laminate, use clear packing tape across both sides. It adds durability.
Extra idea
Include a small tassel or yarn fringe at the top. You can punch a hole and loop a yarn strand.
This is one of the fastest options and ideal when you only have 10 minutes.
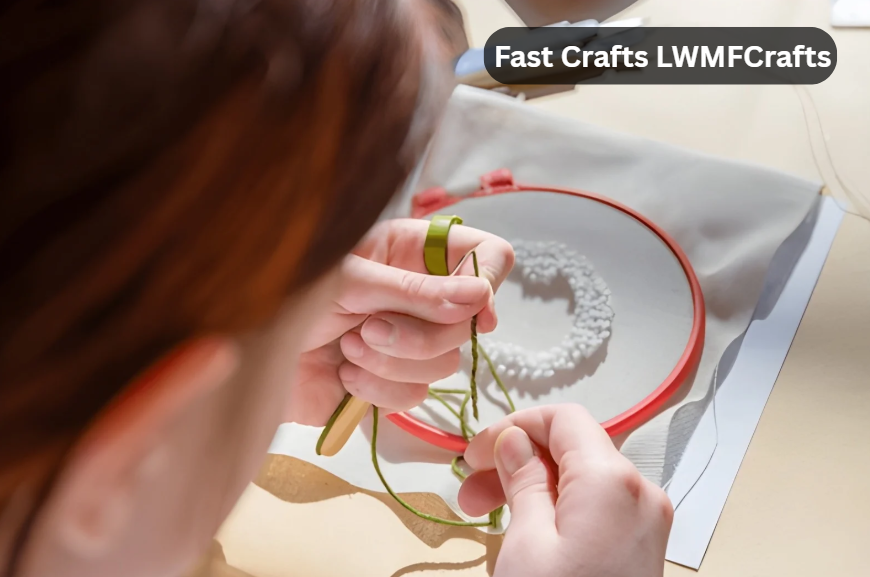
Craft #6 Yarn Tassel Wall Hanging

Materials
Yarn in several colors, a wooden dowel, stick, or even a pencil, scissors.
Method (15–20 min)
- Wrap yarn around a book or your hand many times (that’s the length).
- Slide it off and tie a short piece at one end to make a tassel.
- Trim the bottom edge so tassel is even.
- Make several tassels in different colors.
- Tie them to your dowel or stick with yarn or string.
Color combos and patterns
Alternate long and short tassels. Mix bold and neutral colors. You can alternate hues or make an ombre effect.
Insight
Tassel hangings look more complex than they are. The visual impact is strong. This craft is a fast win in décor style. Use this one when a project needs to look like effort.
Craft #7 Upcycled Tin Can Planter
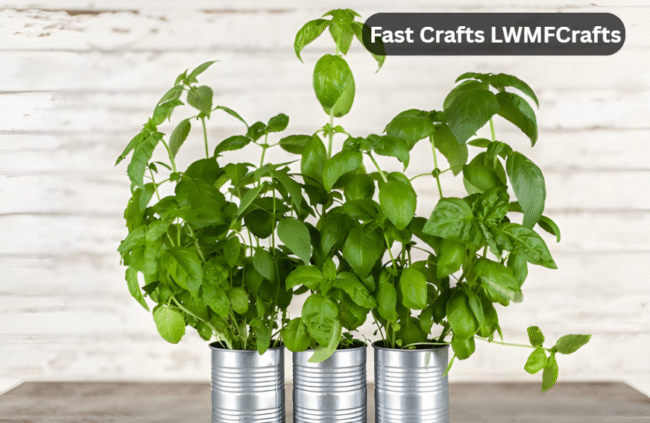
Materials
Empty tin can (cleaned, label removed), paint or wrapping paper, glue, optional mod podge or sealant, plants or soil.
Steps (15–25 minutes)
- Clean the can thoroughly and dry it.
- Decorate: paint it, wrap with patterned paper, or use fabric.
- Seal with a layer of clear coat or glue overlay.
- Optionally punch drainage holes (if planting).
- Add soil and a small plant or use as a pen holder.
Alternative use
Use it for art supplies, utensils, or organizing small things if you don’t plant.
Because the can is sturdy, it becomes a lasting object, not just a quick craft. This is one Fast Crafts LWMFCrafts piece that lasts beyond the crafting session.
Bonus Quick Ideas If You Finish Early
If you wrap early, try these:
- Paper snowflakes (fold and cut).
- Sticker mosaics (use many small stickers to fill a shape).
- Nature imprints: press leaves or small twigs in clay or ink.
These extras serve as buffer crafts and keep momentum.
How to Use These Crafts in Everyday Life
Rainy day rescue
When kids are stuck inside on a rainy afternoon, grab one of these and get them creating. It breaks monotony and saves screen time.
Party or classroom filler
If you host a small party or classroom session, these fast crafts lwmfcrafts fill a 20-minute window. You can rotate stations: one group does painted rocks, another does bookmarks.
Gifts or cards
Many of these crafts become gifts. Bookmarks, planters, or yarn tassels make nice home made presents. That adds meaning.
Display and rotation
Rotate which crafts stay on display so kids feel their work matters. The clothespin photo holder or rock monsters can be part of a changeable gallery.
Connecting to the LWMFCrafts Community
Fast Crafts LWMFCrafts is more than a list—it’s part of a creative movement. Sites like Giveaway LookWhatMomFound often host challenges or giveaways that spark new craft ideas (for example, the look what mom found fathead wall graphic giveaway). Community interaction helps generate fresh ideas.
If you post your craft photos on social media with tags like “LWMFCrafts” or “lwmfcrafts,” you may inspire others or get feedback. The community often shares photos, tweaks, and variations.
You can enter give aways look what mom found to win supplies or graphics. These contests help people try new styles or media they might not otherwise buy.
By sharing your versions, you contribute your own inventive lwmfcrafts to others’ inspiration.
Conclusion
You don’t need hours or pricey supplies to create something meaningful. These seven Fast Crafts LWMFCrafts show you how to turn everyday materials into fun, artful projects in under 30 minutes. You can adapt them, mix and match, or invent your own based on the ideas here.
If you try one today, post a photo or share with a friend. The goal is simple creative action, not perfection.
Let me know if you want me to add step-by-step photos, printable templates, or variants by age group.