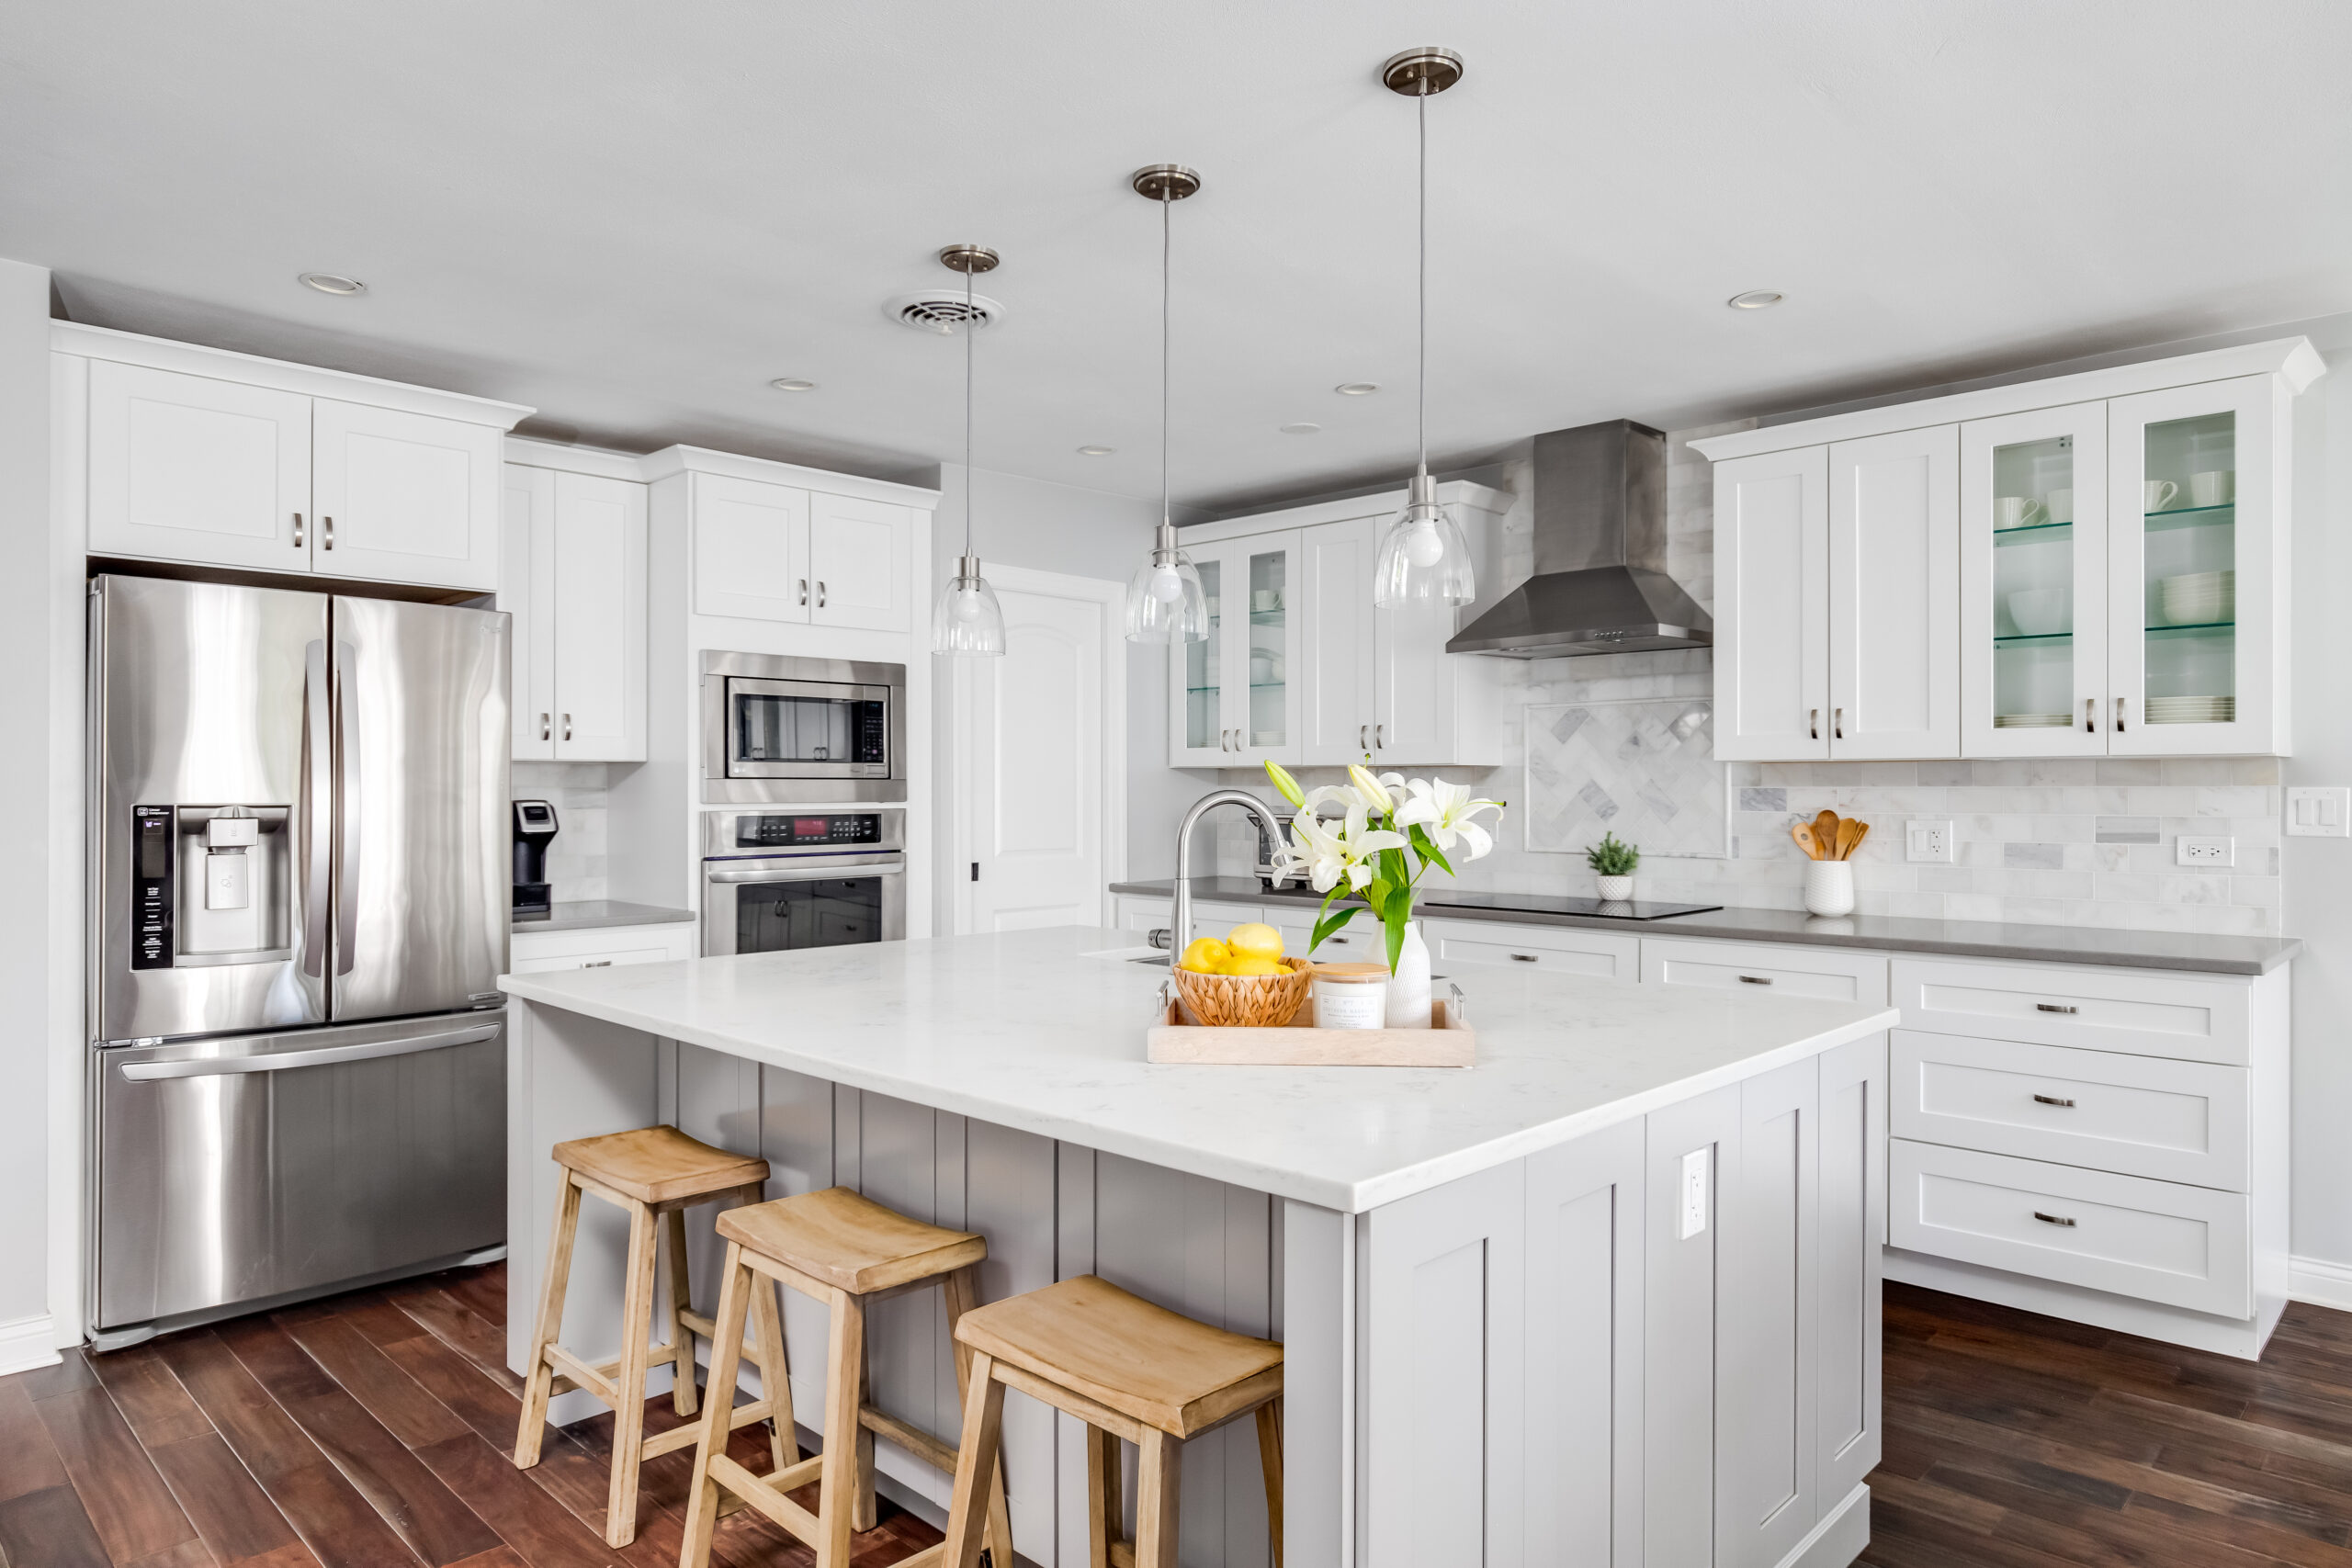
Starting a kitchen renovation can feel overwhelming, but with the right approach, it can be a smooth and rewarding experience. Whether you’re hiring a professional Vancouver kitchen contractor or doing some of the work yourself, the order in which you tackle the project matters. It impacts not just the timeline but also the outcome of your remodel. Here are some practical tips from an experienced renovation contractor to help you stay on track during your kitchen remodel.
1. Start with Planning and Design
Before you touch a single tool, the most important step is to plan and design your new kitchen. This is where you’ll decide how the space will function and what your priorities are. Do you need more storage, better lighting, or a larger cooking area? Your design should reflect these needs while also fitting your aesthetic vision. If you’re unsure about any aspect, don’t hesitate to consult with a professional kitchen renovation company. They can help refine your ideas and make sure the design is functional and meets local building codes. We highly recommend to bring an experienced designer on board to avoid costly mistakes and get your dream kitchen right.
2. Demolition and Structural Changes
Once your design is set, it’s time for demolition. This is when you remove old fixtures, cabinets, and countertops. If your remodel involves structural changes—like knocking down walls or moving plumbing—now’s the time to get that done. Removing walls and making any necessary structural adjustments should come early, as this opens up space for the plumbing and electrical systems that will follow. Keep in mind, if you live in a home built before 1988, asbestos testing is crucial before demolition work begins.
3. Plumbing and Electrical
With the space cleared, focus on the plumbing and electrical systems. These are the “behind-the-scenes” elements that need to be in place before anything visible goes in. Whether you’re adding new fixtures or relocating appliances, the plumbing and electrical work should be done early in the process. We recommend tackling the plumbing before the electrical rough-ins, as plumbing tends to require more adjustments to wall structures. Make sure your contractor stays on top of local codes and ensures all systems align with your design.
4. Flooring
Once the plumbing and electrical work are complete, it’s time for the flooring. Installing it early prevents any potential damage during later stages of construction. For some flooring types, like hardwood or laminate, it’s better to wait until the cabinetry is in place to allow for expansion and settling. Discuss the ideal timing with your renovation contractor to avoid redoing any work.
5. Cabinetry and Countertops
Now we’re getting to the fun part—choosing cabinetry and countertops. These are the focal points of your kitchen, so take your time and pick wisely. Keep in mind that cabinetry can significantly impact your budget, so it’s worth considering both the look and longevity of your choices.
Cabinet Selection Tips:
- Style: Are you going for sleek and modern, or more traditional? The style of your cabinets will set the tone for the entire space.
- Functionality: Think about how you use your kitchen. Do you need deep drawers for pots and pans? Pull-out shelves for easy access? Custom storage solutions can make a world of difference.
Material: Solid wood cabinets offer durability and timeless appeal, while engineered options like MDF can be a budget-friendly alternative that still looks great. There are also many other materials that are both durable and affordable, while still maintaining a stylish appearance.
Countertops: Choose a material that complements your cabinet style and is practical for your kitchen’s needs. Granite, quartz, and marble are popular choices for their durability and beauty, but there are plenty of options depending on your budget and style.
6. Appliances and Fixtures
Once the cabinets and countertops are in place, it’s time to install your appliances and fixtures. The refrigerator, stove, and sink should be strategically placed to ensure an efficient kitchen workflow. When installing, be sure your contractor measures and double-checks the appliance specifications to ensure a perfect fit within the allocated space. It’s important to confirm these measurements before roughing in any new electrical or plumbing connections.
7. Finishing Touches
Now that the major components are in, it’s time for the finishing touches. This includes installing backsplashes, painting, and putting on cabinet handles and drawer pulls. These small details are what bring the whole design together and give your kitchen that polished, cohesive look.
Conclusion
A kitchen remodel in Vancouver requires thoughtful planning, careful sequencing of tasks, and attention to detail. Starting with a solid design, then handling demolition and system updates, followed by the installation of flooring, cabinetry, and appliances, will ensure that your kitchen renovation goes smoothly and results in a beautiful, functional space. Working with an experienced kitchen contractor, like us at Adept Projects Kitchen & Bath, can help you navigate this process seamlessly and make your dream kitchen a reality.

