
A fresh coat of paint can make a home feel cleaner, brighter, and more “finished” in a single weekend. But the paint job you love on day one is not always the one you still love after a few humid months, salty breezes, kids, pets, daily showers, and sun that seems to hit the same wall all afternoon.
The good news is that long lasting results are not about finding one magic color. They come from planning the right scope, choosing the right products for each surface, and treating preparation like the main event, not an optional step.
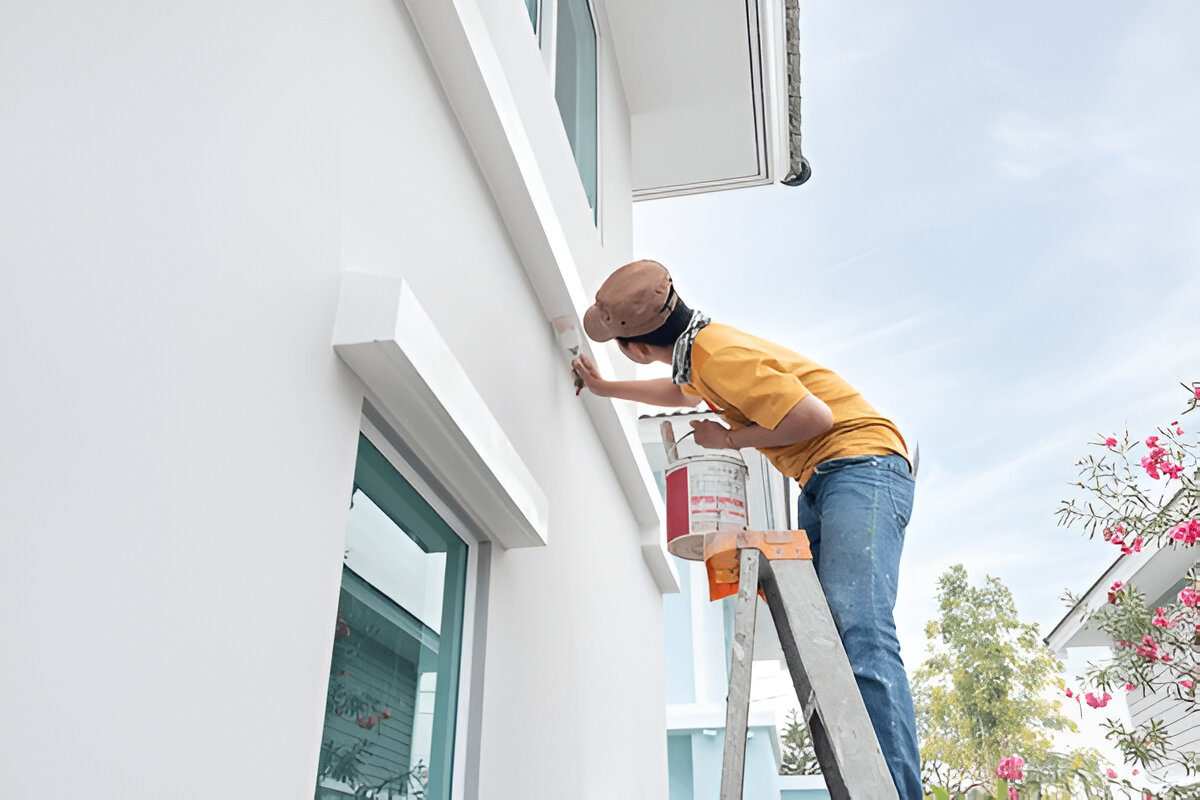
If you are weighing a full refresh, start by thinking of the project as interior and exterior house painting with two different sets of challenges. Inside, it is about washability, airflow, and how light changes the color. Outside, it is about adhesion, moisture, and UV exposure. When you plan both sides intentionally, your paint looks better longer and holds up to real life.
Start with a quick “paint audit” before you pick a color
Before you fall in love with swatches, walk your home with a notepad and answer three practical questions:
- What is failing, and why? Peeling near windows, bubbling on sunny walls, or dark spotting in shaded corners each points to a different cause. Paint should not be used to hide a moisture issue.
- What surfaces are you actually painting? Stucco, concrete block, wood trim, metal railings, and previously painted glossy surfaces all need different prep and primers.
- What is the lifestyle of each space? A calm guest room can handle a different finish than a busy hallway that gets touched, bumped, and cleaned constantly.
This audit keeps your project from becoming “paint everything the same way,” which is usually how premature wear starts.
Paint is a system, not just a can
Residential painting lasts when the layers work together:
- Cleaning and decontamination (especially outside)
- Repairs and patching
- Sanding or deglossing where needed
- Primer that matches the surface and problem
- Topcoat chosen for durability and exposure
Skipping the right primer is one of the most expensive “savings” homeowners make. Primer is not only for new drywall. It is for stain blocking, adhesion on slick surfaces, sealing porous masonry, and evening out patched areas so the finish looks uniform.
The prep details that separate “looks good” from “stays good”
A quality paint job is mostly what happens before paint is opened.
For interiors
- Patch and feather properly. If patches are not sanded flush and feathered, they flash under lighting, especially in glossy finishes.
- Degrease kitchens and hand touched areas. Paint does not stick well to oils from cooking or daily contact.
- Control dust. Fine sanding dust ruins adhesion and leaves gritty texture if it lands on wet paint.
For exteriors
- Remove chalking. If old paint leaves a powdery residue on your hand, new paint is bonding to dust, not the wall.
- Treat mildew correctly. Painting over it traps the problem. It comes back through the finish.
- Seal gaps. High quality caulk at trim joints and around penetrations helps reduce water intrusion, which is a common trigger for peeling.
In humid, coastal style conditions, moisture management is the quiet hero of exterior durability. Small gaps and hairline cracks matter more than most people think.
Choosing interior finishes that fit real life
Most homeowners pick paint by color first and sheen second, but sheen affects both appearance and maintenance.
- Flat or matte hides wall imperfections well and feels soft, but it can be less forgiving in high traffic areas.
- Eggshell or satin is a popular sweet spot for living spaces because it is easier to clean without looking overly shiny.
- Semi gloss works well for trim, doors, and cabinets where you want durability and wipeability.
If anyone in the home is sensitive to smells or you are painting bedrooms and common areas, it also helps to think about ventilation and product selection. The EPA notes that concentrations of many VOCs can be higher indoors than outdoors, sometimes up to ten times higher, because so many everyday products release them. That does not mean you should fear every paint project, but it does mean airflow and smart product choices matter, especially during and right after painting.
One more practical point that homeowners often miss: dry is not the same as cured. Many water based acrylic paints can feel dry quickly, but full curing can take roughly 14 to 30 days depending on conditions and product type. During that window, treat walls gently, avoid aggressive scrubbing, and be careful with tape or hooks on freshly painted surfaces.
Exterior choices that handle sun, rain, and constant exposure
Exterior paint has one job that interior paint does not: it has to protect.
A few considerations that make a big difference:
- Match the coating to the wall. Masonry and stucco often need breathable coatings so moisture vapor can move without pushing the paint film off.
- Use the right sheen outside. Very flat finishes can show dirt, while higher sheens can highlight texture. Many homes land in a low sheen that balances cleanability and appearance.
- Do not ignore trim and metal. Metal railings and fixtures need proper prep and rust management. Glossy trim needs scuffing or bonding primer before repainting.
If you are repainting to support resale, it helps to remember that exterior improvements tend to be strong value plays compared with many larger discretionary interior projects. Even if you are not selling soon, that same principle translates into day to day satisfaction: when the outside looks maintained, the whole property feels cared for.
A quick safety checkpoint for older homes
If your home was built before 1978, lead based paint is more likely to be present. Lead is most dangerous when it is deteriorating or disturbed, which is exactly what sanding, scraping, and renovations can do. This is one of the clearest moments to bring in professionals who follow lead safe practices, especially if children or pregnant family members are in the home.
How to plan the project so your life is not upside down
A residential repaint can be smooth if you plan for function, not just finish.
- Decide what stays on the walls. Removing hardware, vents, and switch plates improves the final look and makes cutting in cleaner.
- Pick a room order. Bedrooms and offices first if you need calm spaces. High traffic areas later if you want to keep daily flow.
- Schedule cure time into your expectations. If you plan to hang art, reinstall shelving, or deep clean, build in that curing window.
- Choose a small test wall. Paint shifts with lighting, especially in open concept spaces. One test area saves you from repainting an entire room.
Keeping your new finish looking fresh
Once the work is done, a few simple habits extend the life of the paint:
- Wait until the paint has cured before heavy cleaning.
- Use gentle cleaners and soft cloths on walls, especially in lower sheen finishes.
- Touch up chips quickly, since exposed edges let moisture and grime creep under the surrounding paint.
- Keep gutters, sprinklers, and landscaping from constantly wetting exterior walls.
A well planned paint job should feel like a reset that holds. When prep is thorough, products match the surface, and the project is paced around how your household actually lives, the results look cleaner, wear better, and stay that way far longer than a quick color change ever could.