
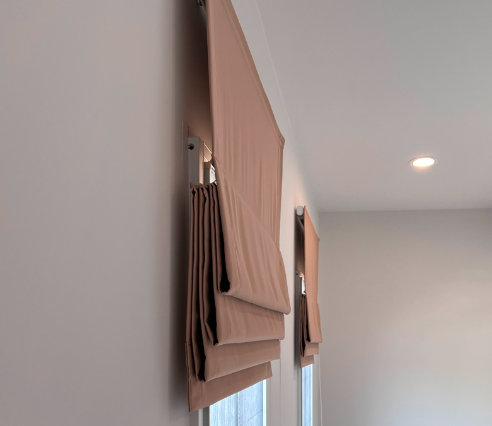
Installing blinds on your own can transform the look of a room while saving money on professional installation fees. With the convenience of ordering custom-fit window coverings online, you can achieve a polished look with minimal effort. This guide will walk you through the entire process, from preparation to installation, ensuring a seamless experience.
Gather Your Tools and Materials
Whether installing DIY blinds online for the first time or replacing old window coverings, being well-prepared will make the process much easier and stress-free. Before beginning, ensure you have all the necessary tools and components. Most blinds come with a basic installation kit, but you may need additional supplies.
A tape measure, pencil for marking placement, level for alignment, drill with appropriate bits, screwdriver, and anchors for drywall installations will help make the process smooth and efficient. Having these tools ready before you begin will save time and prevent unnecessary interruptions.
Measure and Mark Placement
Start by measuring your window space to confirm the blind’s dimensions. Double-check the measurements against the product specifications to avoid any surprises. Decide whether you want an inside mount (fitting within the window frame) or an outside mount (covering the frame for full coverage).
For inside mounts, measure the width and height of the window at three points (top, middle, and bottom) to ensure an even fit. Extend the measurements beyond the frame for outside mounts to provide maximum light control and privacy. Use a pencil to mark where the brackets will be placed, ensuring they are evenly spaced. Accuracy at this stage will make the installation process easier and help achieve a professional finish.
Install the Brackets
To secure the brackets, follow these steps:
- Drill pilot holes at the marked points to make inserting screws easier.
- Secure the brackets with screws, making sure they are level and firmly attached.
- Check alignment using a level before fully tightening the screws.
- Use anchors to ensure the brackets stay in place for drywall or plaster installations without damaging the wall.
Ensuring the brackets are level and sturdy is crucial as they provide support for the blinds. Misalignment may cause operational issues, so take your time during this step.
Attach the Headrail and Blinds
With the brackets firmly in place, attach the blinds by snapping or sliding the headrail into the brackets until it clicks into place. Secure any additional components, such as a valance or decorative cover, if included. Test the functionality by pulling the cord or using the wand to open and close the blinds. If the mechanism doesn’t function smoothly, recheck the alignment and make necessary adjustments.
If you are installing motorised blinds, ensure the batteries are properly installed and test the remote control to confirm the blinds respond correctly. It is highly recommended that you read the manufacturer’s instructions for motorised blinds.
Final Adjustments and Cleanup
After installation, make final adjustments to ensure the blinds operate correctly. Adjust the tension on cordless blinds if necessary and ensure the blinds hang evenly by adjusting the cords or slats. Finally, clean up any dust and debris from drilling and packaging materials. Wipe down the blinds to remove any fingerprints or dust accumulated during installation. A quick check of the installation will ensure that everything is securely in place and functioning as intended.
With a little patience and precision, installing window coverings can be a straightforward process. Following these steps, you can confidently set up DIY blinds online without hiring a professional. Not only does this approach save money, but it also gives you full control over your home’s interior style. Additionally, knowing how to install blinds makes future replacements and adjustments easier. Enjoy your new window treatments and the satisfaction of a job well done!