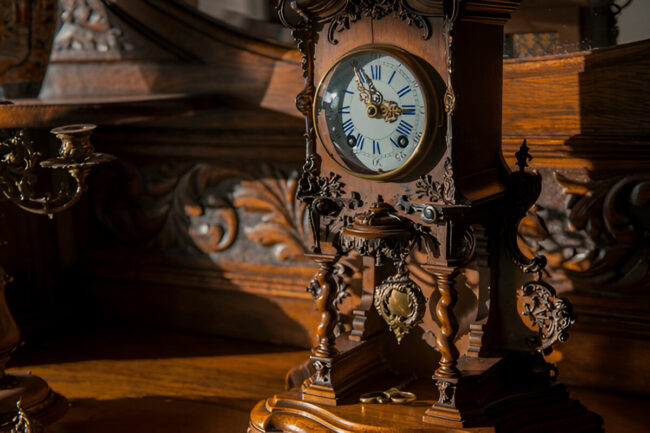
Creating a wooden wall clock using a laser cutter offers a blend of precision, creativity, and craftsmanship. Laser cutting technology allows for intricate designs and precise cuts, resulting in a stunning and unique timepiece that can adorn your walls. In this detailed guide, we will explore the process of crafting a wooden wall clock using a laser cutter, from designing the clock face to assembling the final piece. Whether you’re a seasoned maker or a novice eager to explore the world of laser cutting, this step-by-step guide will help you create a one-of-a-kind wooden wall clock that will be a focal point in any room.
Materials and Tools Needed
- Wooden sheet: Choose a high-quality wood sheet suitable for laser cutting, such as plywood or MDF.
- Clock movement kit: Includes clock hands, a motor, and mounting hardware.
- Sandpaper: For sanding and smoothing the edges of the wooden pieces.
- Wood finish: Stain, paint, or sealant for enhancing the appearance and protecting the wood.
- Wood glue: To assemble the different components of the clock.
- Clock face design: Create a digital design file for laser cutting.
- Laser cutter: A laser cutting machine for cutting precise shapes and designs.
- Computer with design software: To create and edit the clock face design.
- Protective gear: Safety glasses and gloves for handling materials and using the laser cutter.
Step-by-Step Guide
1. Designing the Clock Face:
- Start by designing the clock face using design software like Adobe Illustrator or CorelDRAW.
- Consider the size, shape, and style of the clock face, keeping in mind the dimensions of the clock movement kit.
- Add intricate details, numbers, and any other decorative elements to personalize the design.
2. Preparing the Wooden Sheet:
- Choose a wooden sheet of appropriate thickness for laser cutting.
- Secure the wooden sheet to the laser cutter’s bed to ensure it remains flat and stable during cutting.
- Import the clock face design file into the laser cutter software.
3. Laser Cutting the Clock Face:
- Set the laser cutter parameters for wood, including power, speed, and frequency, based on the type of wood being used.
- Start the laser cutting process, ensuring that the design is accurately cut into the wooden sheet.
- Once the cutting is complete, carefully remove the wooden clock face from the laser cutter.
4. Sanding and Finishing:
- Use sandpaper to smooth the edges and surfaces of the laser-cut wooden clock face.
- Apply a wood finish of your choice, such as stain or paint, to enhance the appearance of the wood and protect it from wear and tear.
5. Installing the Clock Movement Kit:
- Mark the center of the wooden clock face for installing the clock movement kit.
- Follow the instructions provided with the clock movement kit to assemble the motor, hands, and mounting hardware.
- Secure the clock movement kit onto the back of the wooden clock face using wood glue or screws.
6.. Assembling the Wooden Wall Clock
- Attach the clock hands to the motor shaft, ensuring they are properly aligned and do not interfere with each other.
- Set the time on your new wooden wall clock by adjusting the position of the clock hands.
- Hang the completed wooden wall clock on your wall using a sturdy hook or nail.
7. Enjoying Your Handcrafted Timepiece:
- Step back and admire the beauty and craftsmanship of your DIY wooden wall clock.
- Showcase your unique creation in your home, where it will serve as a functional timepiece and a conversation starter.
- Consider creating more wooden wall clocks using different designs and finishes to expand your collection.
Conclusion
Crafting a wooden wall clock using a laser cutter combines the precision of technology with the artistry of woodworking, resulting in a truly exceptional piece of decor. By following this comprehensive guide, you can create a personalized and stylish wooden wall clock that reflects your creativity and attention to detail. The versatility of laser cutting technology allows for endless design possibilities, enabling you to experiment with different shapes, patterns, and finishes to suit your taste and decor. Embrace the opportunity to bring your vision to life through laser-cutting craftsmanship and enjoy the satisfaction of showcasing a handmade timepiece that is both functional and aesthetically pleasing. Let your creativity shine as you embark on this DIY journey to craft a wooden wall clock that will stand the test of time.
